
Note: These instructions are for simple punctures or cuts in PVC inflatables. Leaks near seams, corners, or valves may require special repair methods. Contact Aquaglide for assistance with complex repairs.
What You'll Need
- Clean, dry, well-ventilated workspace (above 50°F / 10°C)
- Aquaglide repair kit (including sticky patches)
- Air pump
- Dish soap and water (50/50 mix)
- MEK, alcohol, or acetone cleaner
- Scissors or razor knife
- Clean cloth
- Tear-Aid® Type B patch (optional aftermarket repair material)
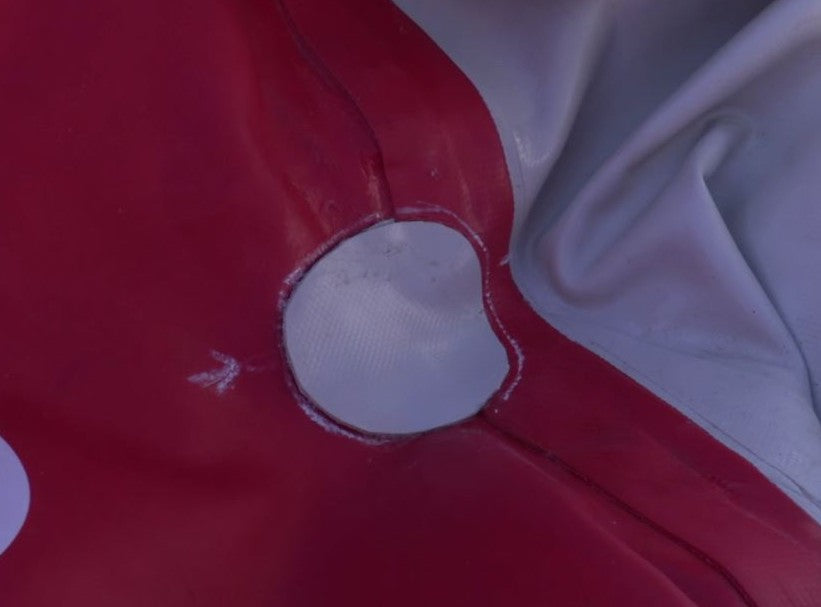
Step 1: Find the Leak
- Fully inflate the product and keep it at full pressure while inspecting.
- Apply a 50/50 soap-and-water solution over suspected areas.
- Look and listen for bubbles indicating escaping air.
- Dry the area thoroughly once the leak is located.
Step 2: Repair with Tear-Aid® Type B
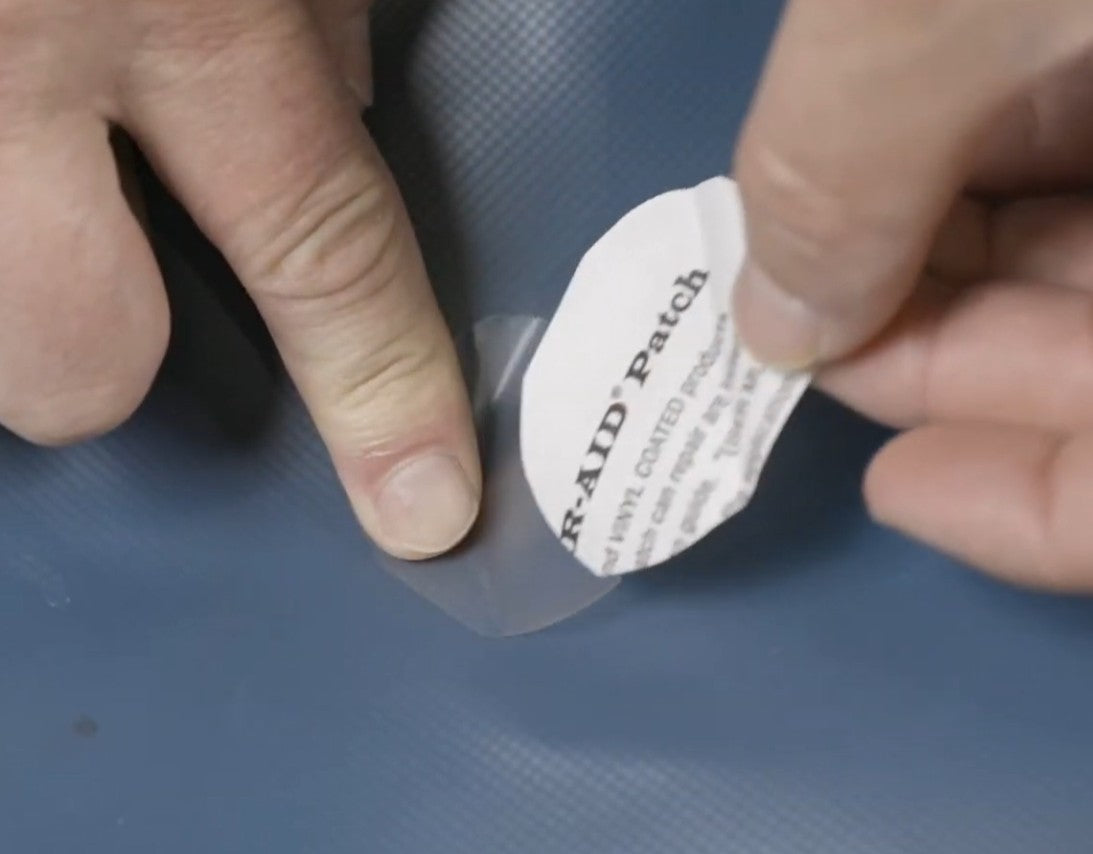
- Cut a patch large enough to extend at least 1 inch (2.5 cm) beyond the leak on all sides. Round the corners.
- Test-fit the patch to ensure it lies flat with no wrinkles or seam overlap.
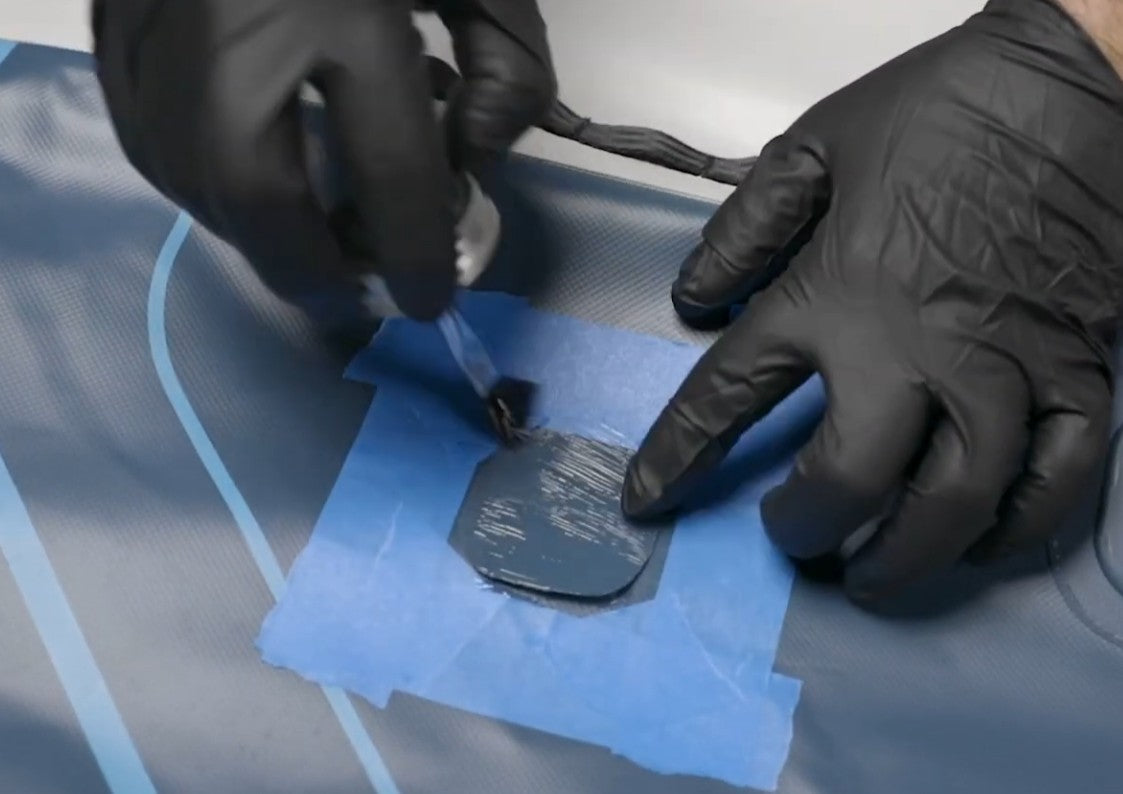
- Clean the repair area with MEK or acetone and allow it to dry.
- Peel back a small section of the patch backing, align carefully, and press into place.
- Slowly remove the remaining backing while smoothing the patch from the center outward to eliminate air bubbles.
- Press firmly over the entire patch.
Important: If the leak continues, remove the patch and repeat the repair with the inflatable fully deflated. Allow the new patch to cure for 24 hours before re-inflating.