
Note: These instructions are intended for punctures and small cuts in PVC inflatables. Leaks near seams, corners, or valves may require specialized repair techniques. Contact Aquaglide for assistance with complex repairs.
Materials Needed
- Aquaglide repair kit (PVC patch material, sandpaper, PVC adhesive)
- Air pump
- Dish soap and water (50/50 mix)
- MEK or acetone
- Scissors or razor knife
- Clean cloth
- China marker (recommended)
Work in a clean, dry, well-ventilated area above 50°F (10°C).
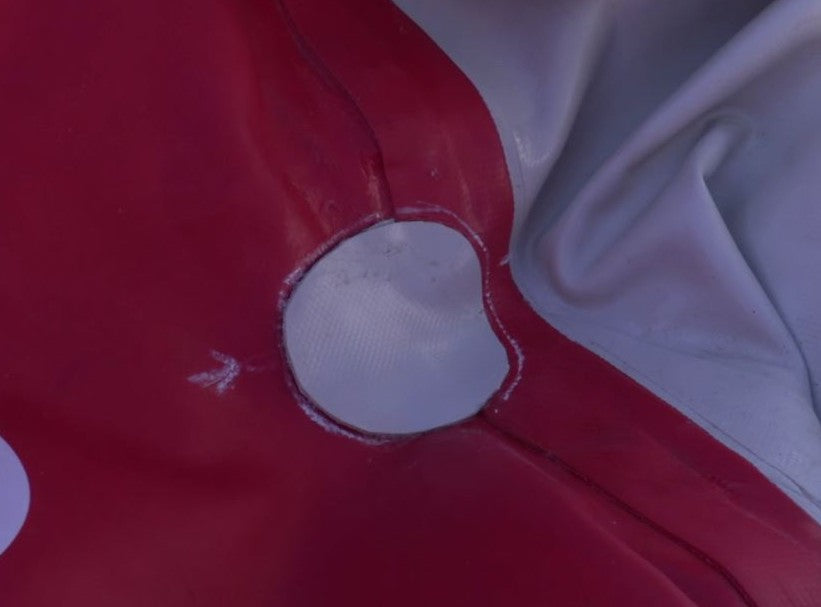
Step 1: Locate the Leak
- Fully inflate the product and maintain pressure while inspecting.
- Apply a 50/50 soap-and-water solution to suspected areas.
- Look and listen for bubbles indicating escaping air.
- Dry the area thoroughly once the leak is found.
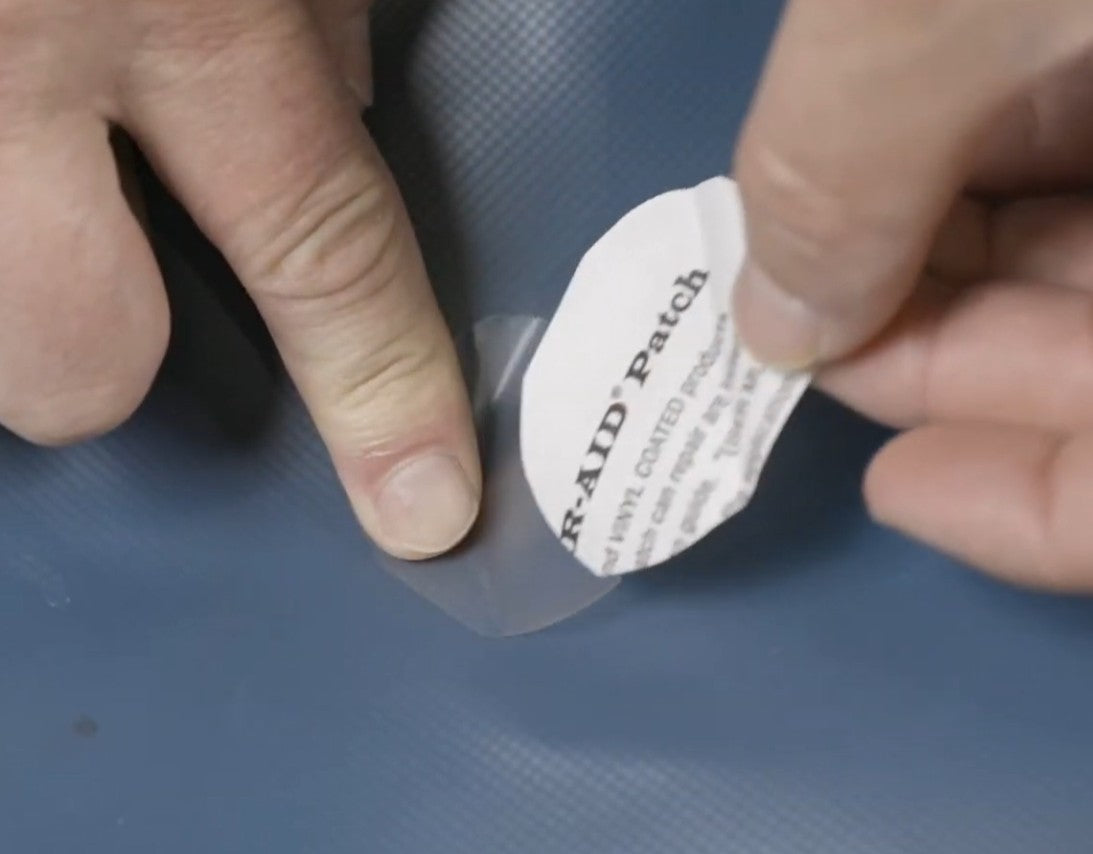
Step 2: Apply a Reinforced PVC Patch
- Completely deflate the product and position the repair area for easy access.
- Cut a PVC patch with rounded corners, extending at least 1 inch (2.5 cm) beyond the damaged area on all sides.
- Test-fit the patch to ensure full coverage.
- Clean both the repair area and the back of the patch with MEK or acetone.
- Lightly sand both surfaces, then wipe away sanding residue with solvent.
- Position the patch and outline its location with a china marker.
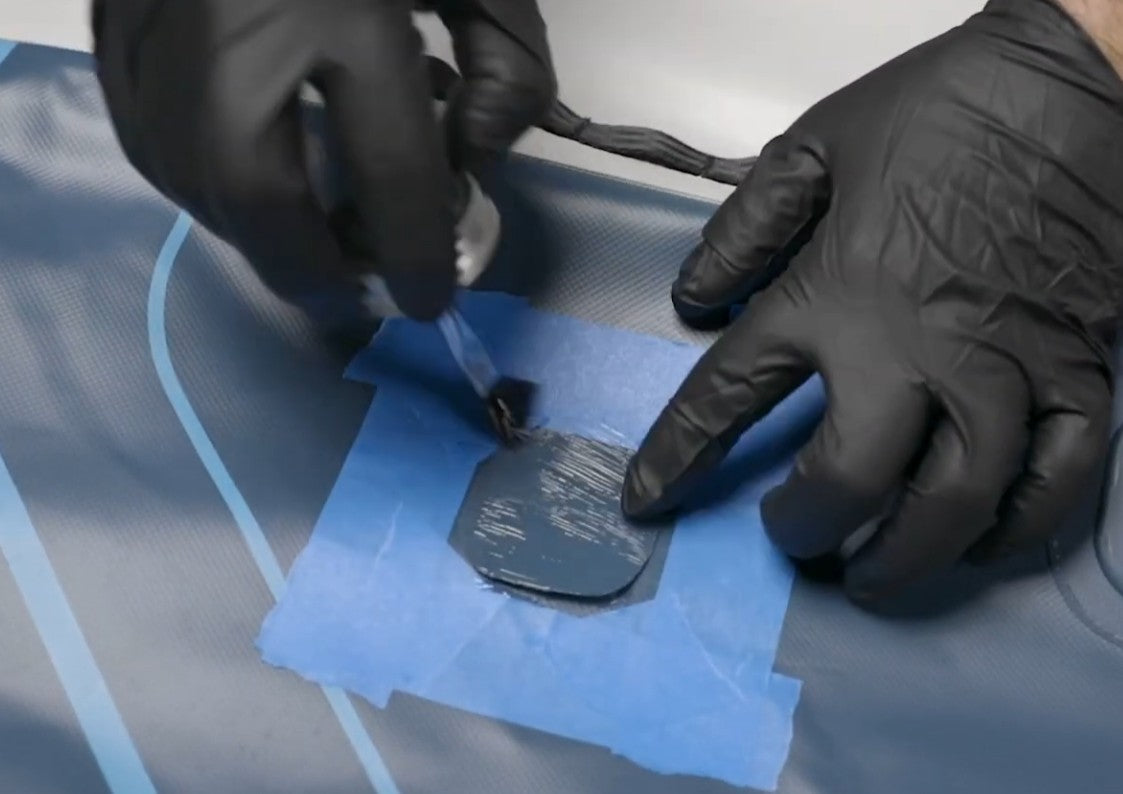
Step 3: Glue the Patch
- Apply a thin, even coat of adhesive to both the repair area and the back of the patch.
- Allow the adhesive to become tacky (about 30–60 seconds).
- Apply a second thin coat to both surfaces and again allow it to become tacky.
- Carefully align the patch with the outline and press it into place. The bond is immediate, so position carefully.
- Apply firm pressure from the center outward, removing any air pockets.
- Rub firmly across the entire patch and all edges.
Step 4: Cure
Allow the repair to cure for at least12 hours before inflating the product.