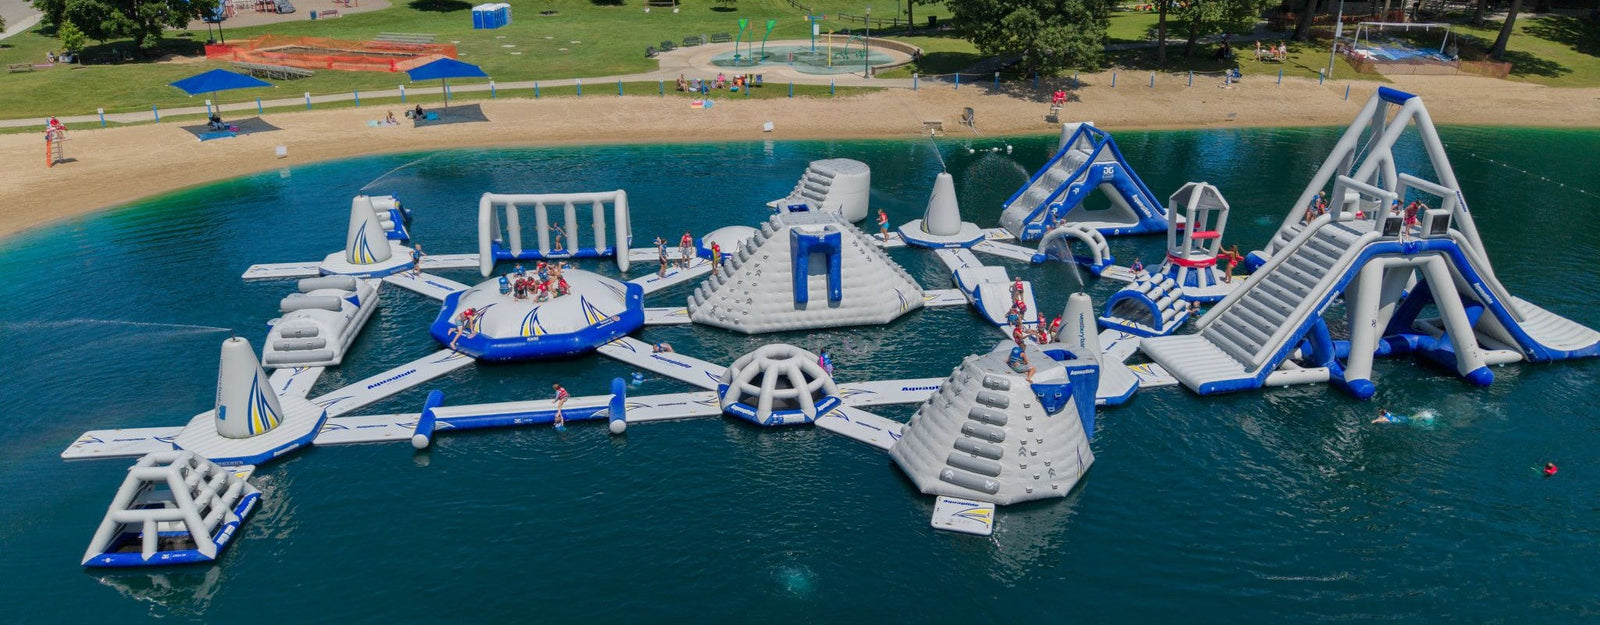
We offer two mooring kit options - the Vertical Mooring Line and the Complete Mooring Line. Both of these products include the necessary snap hook, buoy, quick link, and braided bungie necessary to set up a mooring line. The Adjustable Complete Mooring Line Kit also comes with segmented rope sections up to 19 feet.
The Vertical Mooring is a mooring line set for a water depth of 4 ft (1.2m). Its best value is when installing aquapark mooring fields with tens or hundreds of moorings.
For any water depths over 4 ft (1.2m), rope segments can be added to extend the mooring length (requires purchase of additional rope segments, sold singly, or in sets of 10pc).

The AG Complete Mooring is a complete mooring line for water depths from 4 ft up to 19 ft (1.2m – 5.8m). Easily adjust by removing provided rope segments until proper length is reached.

How to adjust line length
Buoy should float at the surface with little or no slack. This can be achieved in the water (after anchor is set), or by careful measurement beforehand.
The top loop should be ideally positioned 6 in – 18 in [15cm - 45cm] above water when anchor is set. Adjust by adding (Vertical Mooring) or removing (Complete Mooring) rope segments until proper length is reached.
- First, remove stainless snap hook and buoy at the top of the mooring line.

- To add segments, thread additional rope segment through top loop of mooring line.

- Next, thread rope segment through its own loop, creating a larkshead connection. To remove line segments, simply loosen the larkshead and pull unwanted segment through.

- Once adjusted to proper length, replace buoy.

- Thread rope-end through buoy with twisting motion.

- Then re-attach stainless snap hook.

The completed mooring connects to park item using snap hook connected to anchor ring. Secure the hook with locking nut (finger tight).


